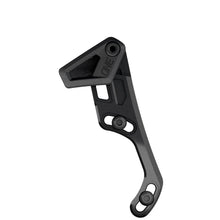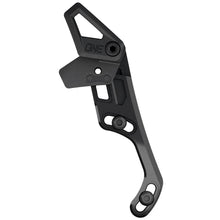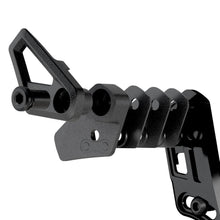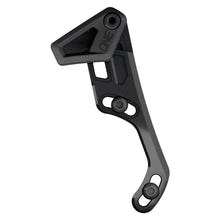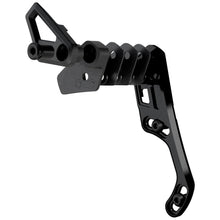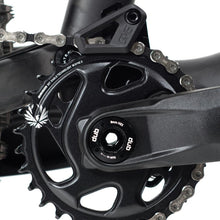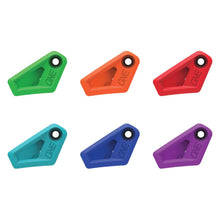
Eliminate dropped chains forever with the new OneUp Components Guide.
As the trend for lower and slacker bikes continues, 'Little bikes' are getting more and more capable everyday. The OneUp Guide uses simple, one tool installation and adjustment as well as an all new tool less flip
At only 40g the OneUp Chain Guide weighs less than a sip of water.
WHY DO I NEED A GUIDE AND A NARROW WIDE CHAINRING?
NW rings are awesome, but they're not perfect and every once in a while you can drop a chain while riding. On a social ride this means getting dropped by your friends. But when racing an Enduro a dropped chain can cost you the podium, which is why almost every EWS pro runs both a chainguide and narrow wide chainring.
FEATURES
- Tool less upper guide flip
- Install without removing your crank
- Single tool install and adjustment (4mm hex)
- Boost compatible
- Oval Compatible
- Black Stainless Steel hardware
- Patented US 10,053,188 Other Patents Pending
SPECS
Weight: 40g
Capacity: 26-38T
Capacity: 26-38T
Chainline: 7.5mm adjustment
Mount: ISCG05
Color: Black top guide piece included
Material: 7075 aluminum, top guide glass reinforced thermoplastic
GUIDE SETUP INSTRUCTIONS
1. Remove top guide by removing the front top guide nut with a 4mm hex (never adjust the rear T25 bolt).
2. Set slider in the highest position. (inserted a 4mm into the hole on the bottom left of the top device with the chain link symbol and backed it out anti-clockwise).
3. Hold backplate directly against ISCG05 tabs. Check for clearance between the back side of the guide and the bike frame (use included 2.5mm spacers if necessary to space the backplate away from the frame).
3. Hold backplate directly against ISCG05 tabs. Check for clearance between the back side of the guide and the bike frame (use included 2.5mm spacers if necessary to space the backplate away from the frame).
4. Rotate backplate until slider adjustment bolt is directly above the crank axle and torque bolts to 5Nm
5. With crankset and chain installed, use spacer shim block to measure clearance between back plate and chain
6. Determine the corresponding number of chainline shims required
7. If more than 5 shims are required, install the supplied 2.5mm washers behind the backplate and return to step 2
8. Assemble top guide with spacers and tighten bolt to 3Nm
9. Insert a 4mm hex through the hole in the inner top guide, loosen height adjustment bolt and lower the tool onto the chain. Torque to 3Nm to set height


